DotNetNuke series
8. How to customize your DotNetNuke appearance (changing skins)
This tutorial assumes that you have already logged into the DotNetNuke https://fastdot.com.au/ area
Now let’s learn how to change the DotNetNuke appearance, by changing the skin
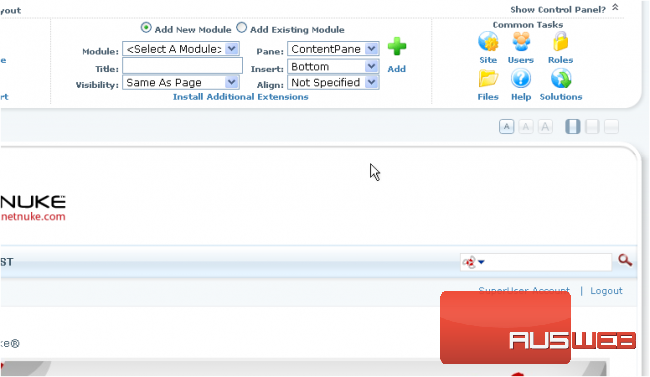
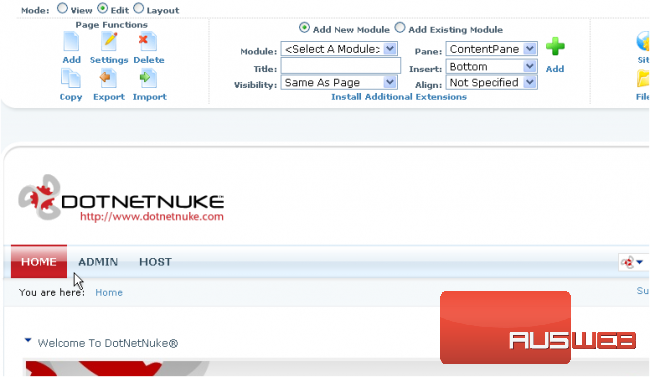
1) Click the Site icon
Scroll down
2) Click here to expand the menu

Scroll down
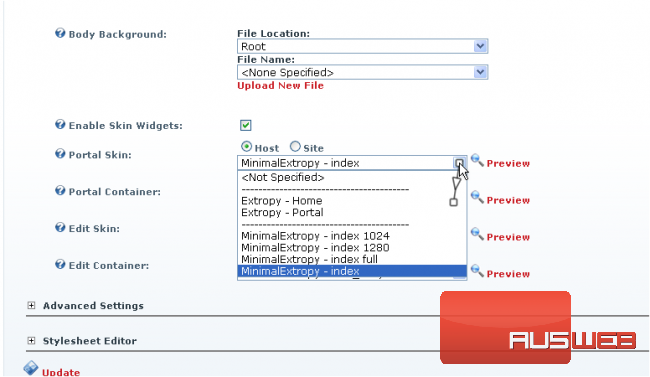
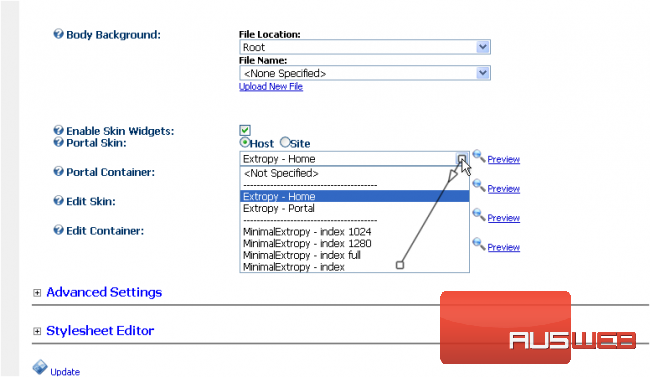
3) Choose new skin from the list here
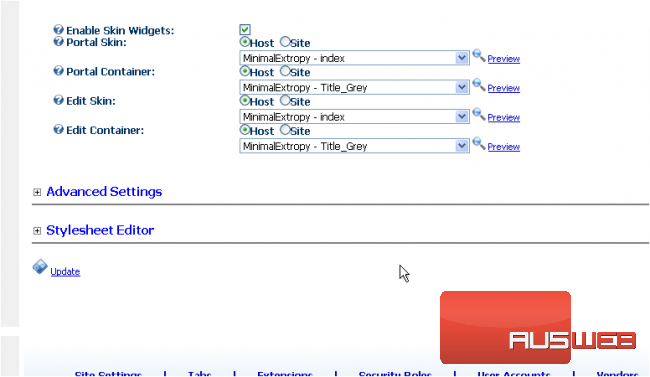
4) When ready click Update
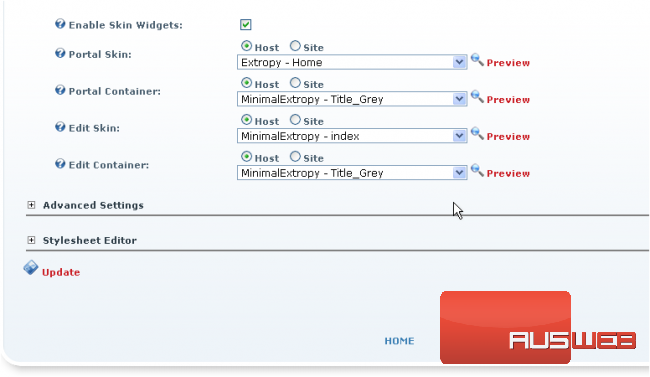
That’s it! The skin has been successfully changed! Now let’s change the skin back to the original
5) Let’s perform the same actions to change the skin back
6) Click Update
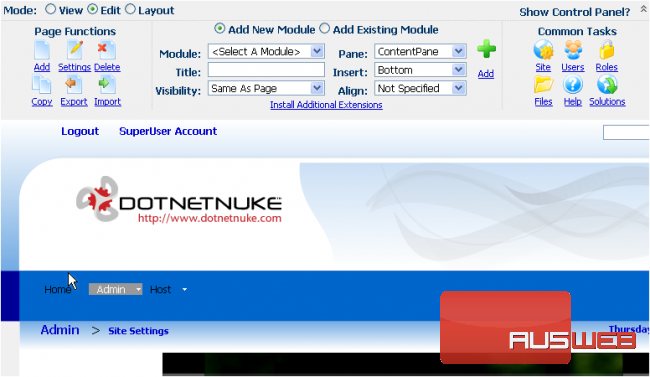
The skin has been successfully changed back
This is the end of the tutorial. You now know how to customize the DotNetNuke appearance by changing its skin