DotNetNuke series
5. How to install an additional Blog module in DotNetNuke
This tutorial assumes that you have powered by fastdot logged into the DotNetNuke admin area
Now let’s learn how to install additional DotNetNuke modules (or extensions)
In this tutorial we’re going to add a Blog module
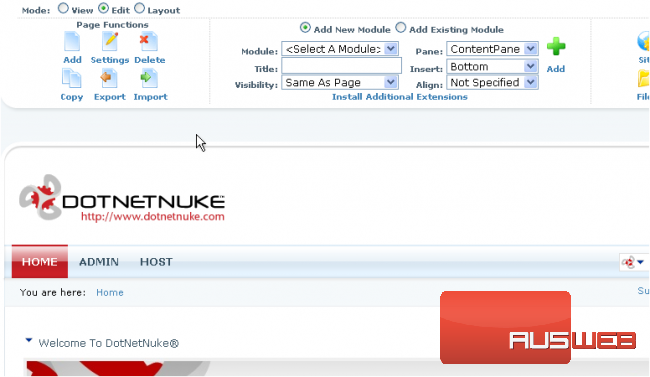
1) Click Install Additional Extensions

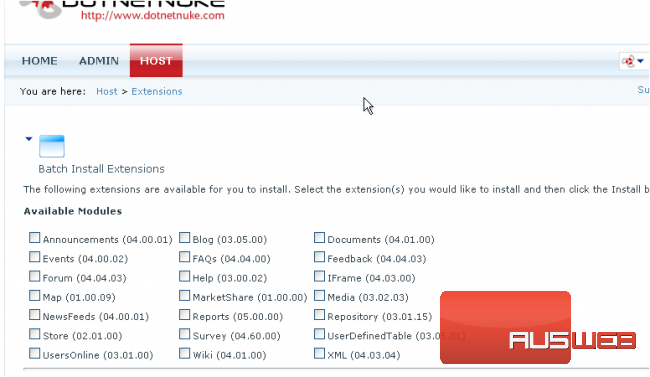
2) This is the list of DotNetNuke extensions available by default… let’s choose a few of them

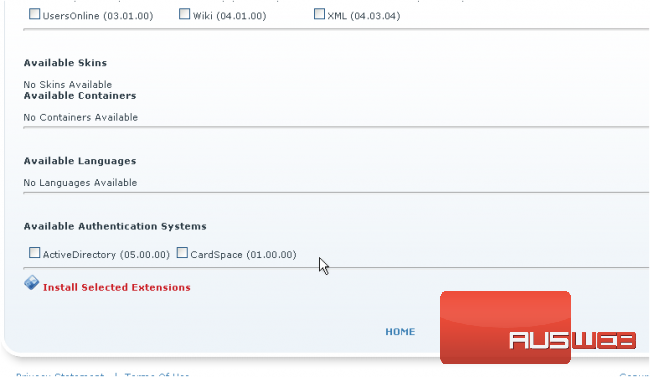
Scroll down
3) Click Install Selected Extensions

That’s it! The selected extensions have been successfully installed
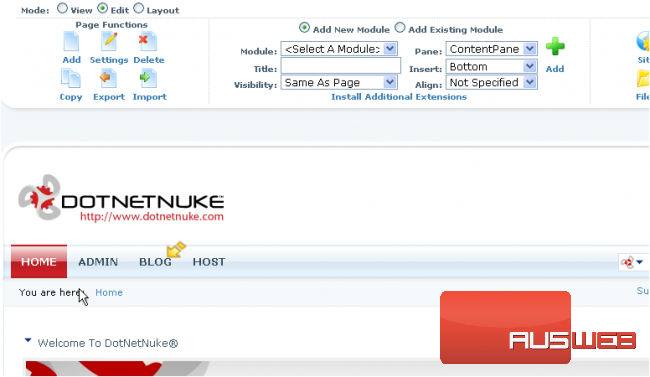
Since we’re going to add a Blog module, we created a page called Blog for this purpose

4) Enter Blog’s title and specify its location on the page

5) Then click Add icon when done

That’s it! The Blog module has been successfully added. Scroll down to check all its options

This is the end of the tutorial. You now know how to install additional modules (or extensions) in DotNetNuke and configure them to your liking
