DotNetNuke series
10. How to install DotNetNuke on a local computer
This tutorial assumes that you have already made all the powered by fastdot preparations for a fresh DotNetNuke installation, and once done, opened the default Install page in your browser
Let’s enumerate the 5 basic steps to a clean install. Step 1. Download the .zip file from dotnetnuke.com
Step 2. Create the database and SQL Server login
Step 3. Create the website folder and unzip the downloaded .zip file
Step 4. Create virtual directory in IIS and set up the necessary permissions
Step 5. Run the DNN Install wizard in your browser
Let’s leave Typical Installation Method checked
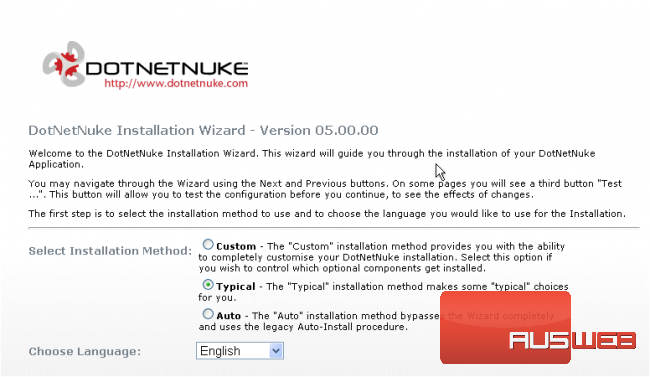
1) Click Next to proceed

Checking File Permissions page allows to test that this DNN installation can successfully create and delete folders and files
2) Click Test Permissions option to check
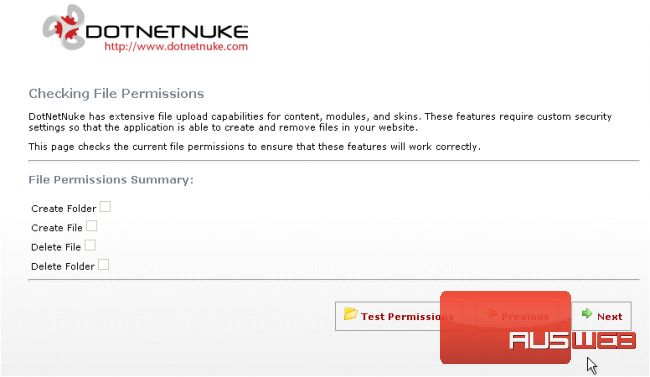
The test has been successful as you can see it here

3) Click Next to proceed
At this step we’re going to configure the database settings depending upon the database type
4) Check SQL Database option
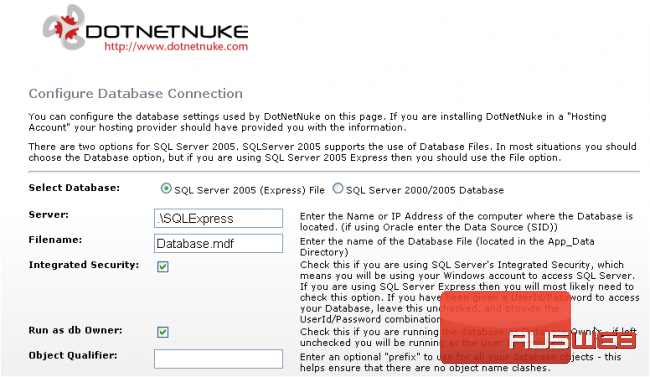
5) Enter the Name or IP Address of the computer where the Database is located
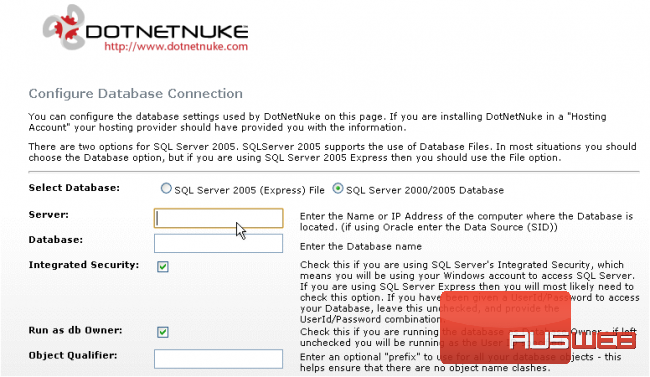
6) Then enter the Database name
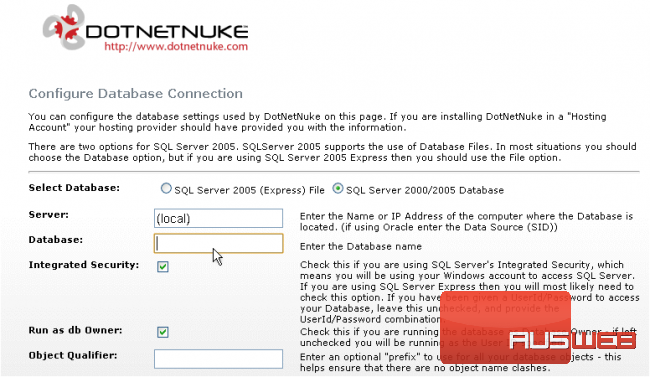
If Integrated Security is checked it means that you will be using your Windows account to access SQL Server
7) Uncheck it to use UserID and Password combination to access the Database
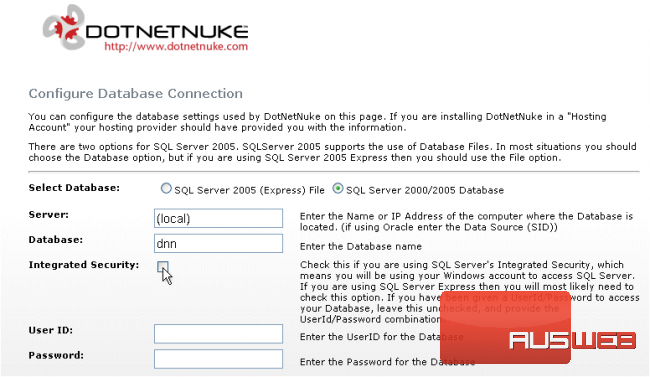
Scroll down
8) Enter UserID for the Database
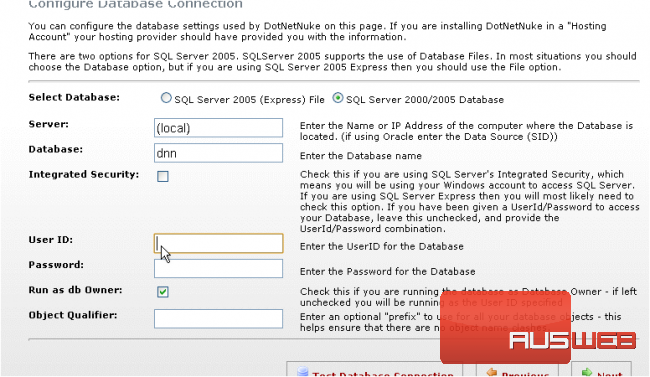
9) Then enter Password for the Database
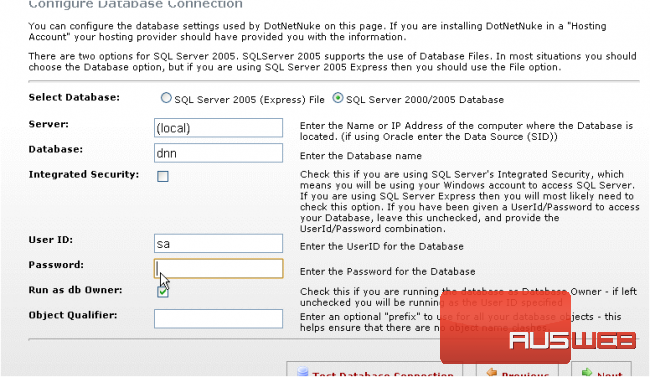
10) Leave Run as db Owner checked if you’re running the database as Database Owner

Scroll down
11) When ready click Test Database Connection
The test has been successful as you can see it here

12) Click Next to proceed
On Run Database Installation Scripts page we shall wait till the Installation of Database is Complete
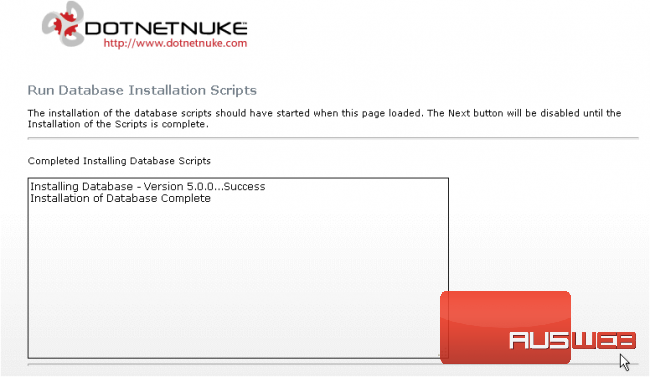
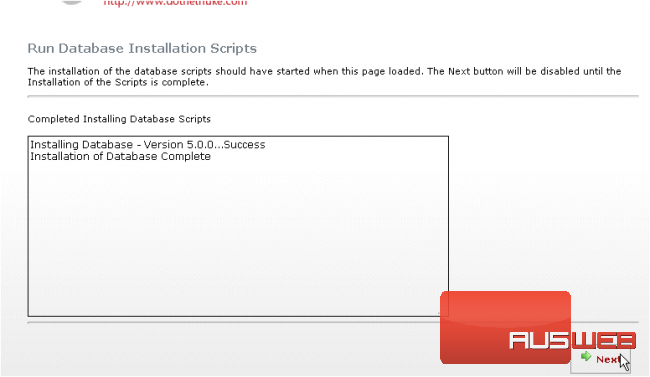
13) Click Next to proceed
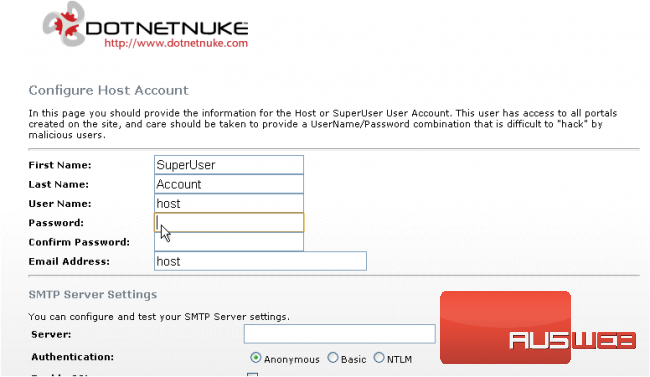
Now let’s configure Host User Account
14) Enter and confirm Host User password here
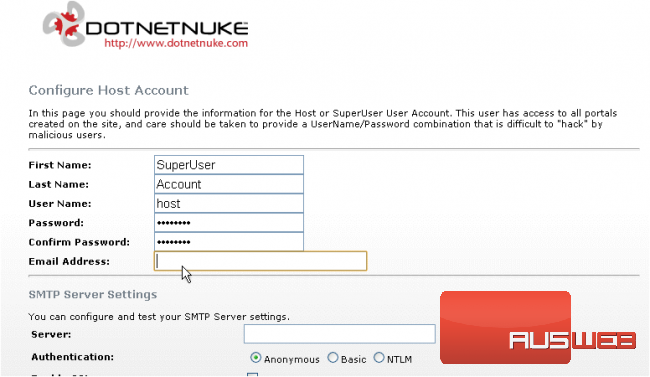
15) Specify valid e-mail address here
Scroll down
16) Let’s specify SMTP server
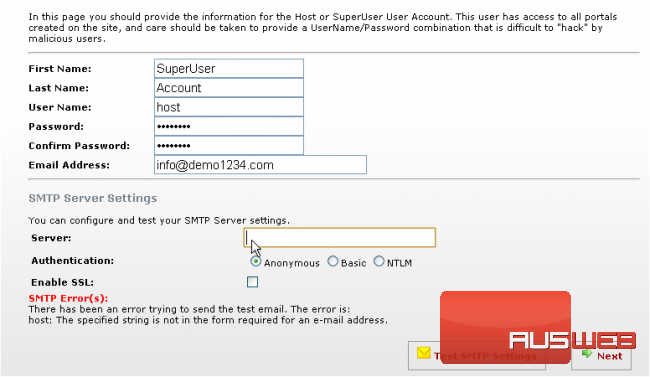
17) Make sure Authentication is Anonymous
18) Then click Test SMTP Settings
The test has been successful as you can see it here
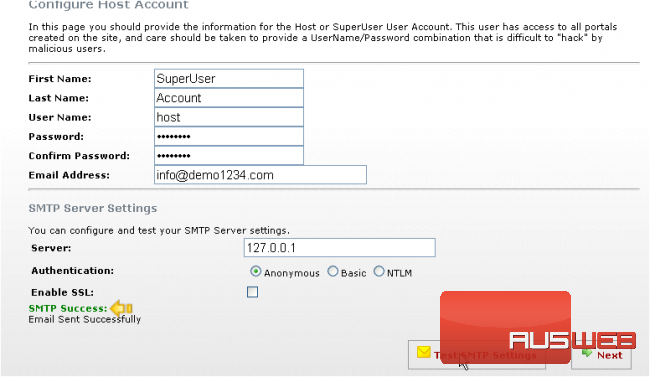
19) Click Next to proceed
On the Portal Title page let’s configure Portal Administrator settings and Portal Properties
20) Enter and confirm Admin User password here
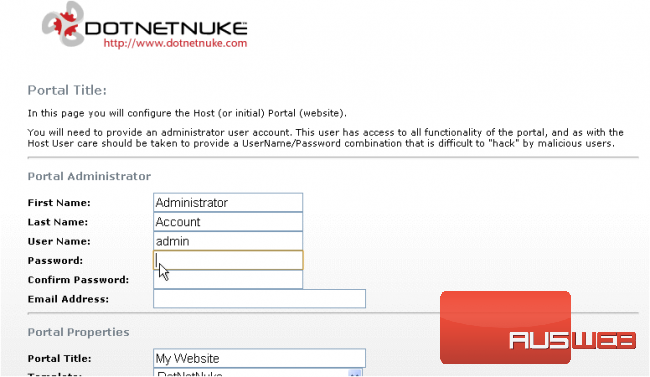
21) Specify valid e-mail address for Admin User
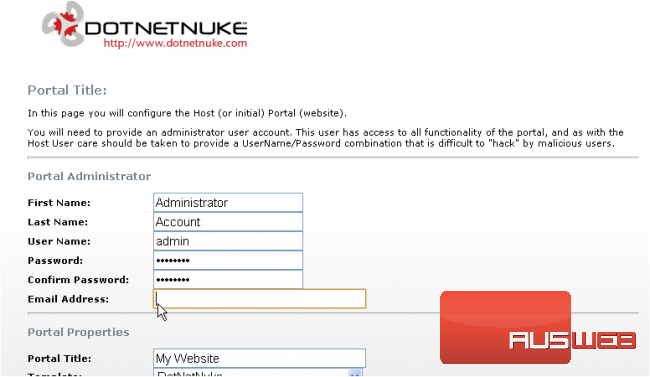
Scroll down
22) Enter a title for the portal in the Portal Title box
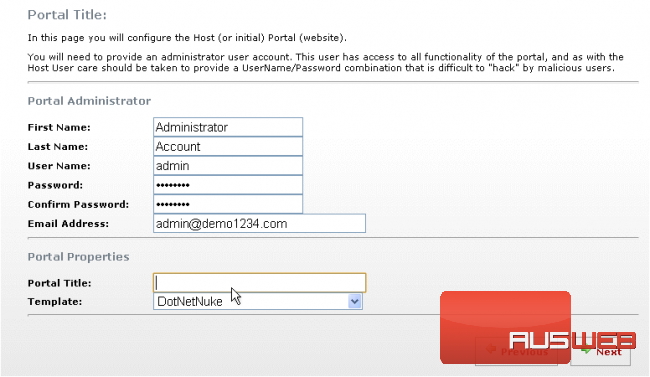
23) Click Next to proceed
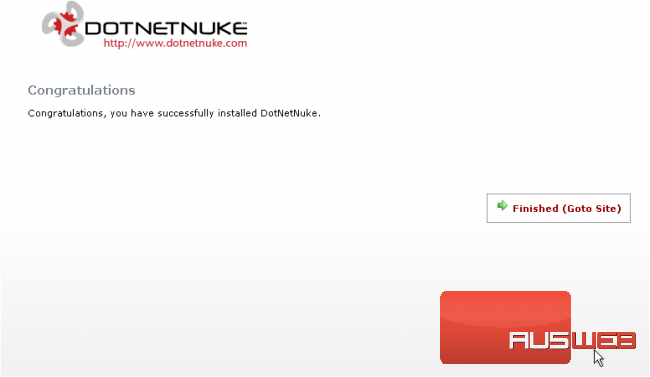
That’s it! We’re done! We have successfully installed DotNetNuke portal on our local computer
24) Click Finished (Goto Site) to open the newly installed portal
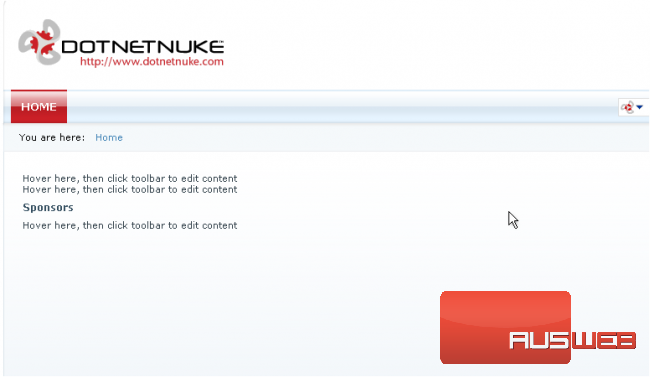
Here it is! Let’s login as Host User to view the new DNN portal functionalities
25) Enter Host User Name here
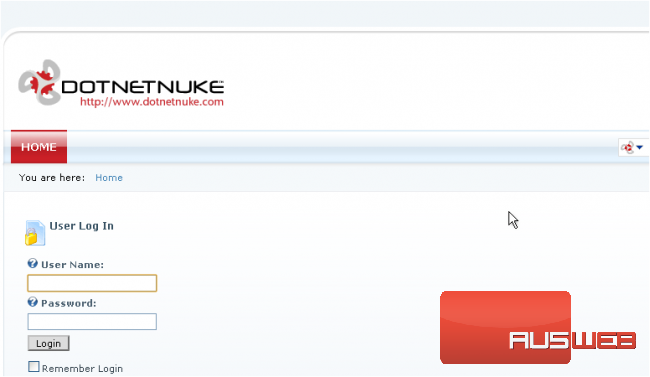
26) Then enter Host User Password
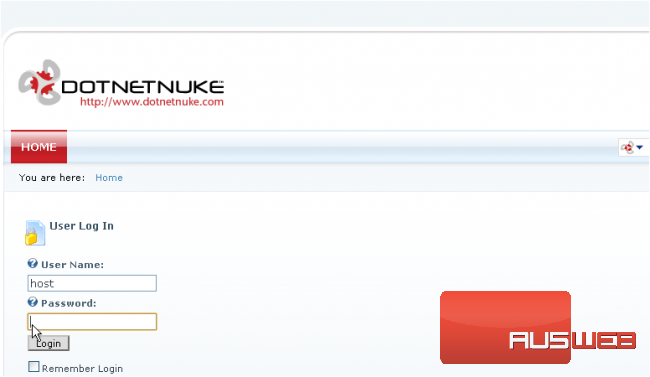
27) Then click Login
Success! We’re now logged into DotNetNuke admin area and can start deploying new interactive portals
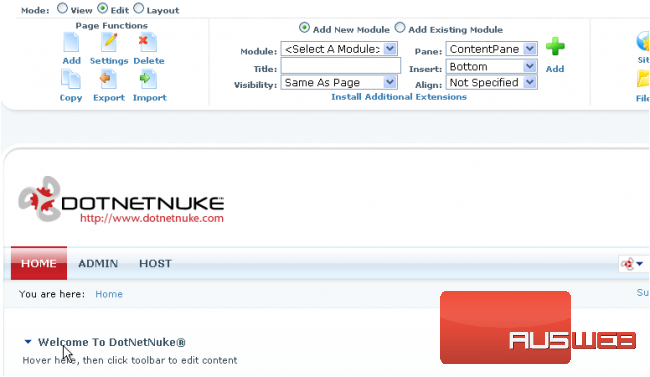
This is the end of the tutorial. You now know how to get ready for DotNetNuke installation on a local computer and run DNN Installation Wizard in a browser. Remember to configure site and database settings properly and test them before proceeding

