DotNetNuke series
14. How to use the DotNetNuke File Manager
Now let’s learn how to use https://fastdot.com.au/web-hosting/cpanel-web-hosting/ built-in File Manager
The File Manager is used to administer existing files or upload new files from your local computer to the website
This tutorial assumes that you have already logged into the DotNetNuke admin area
1) Scroll over Admin
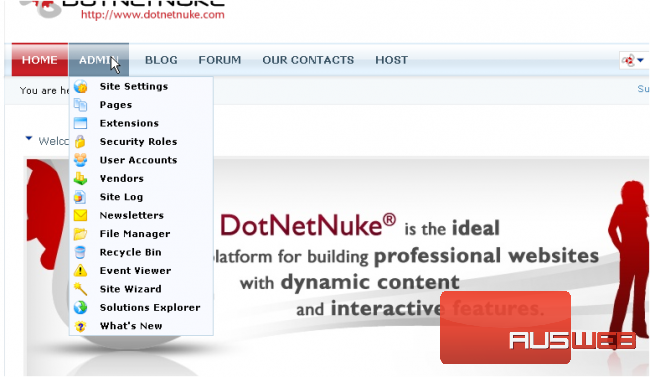
2) Then click File Manager
Scroll down
This is the built-in File Manager, and it is here where you can upload files to your website, delete them, change their permissions, create new folders, and many other functions
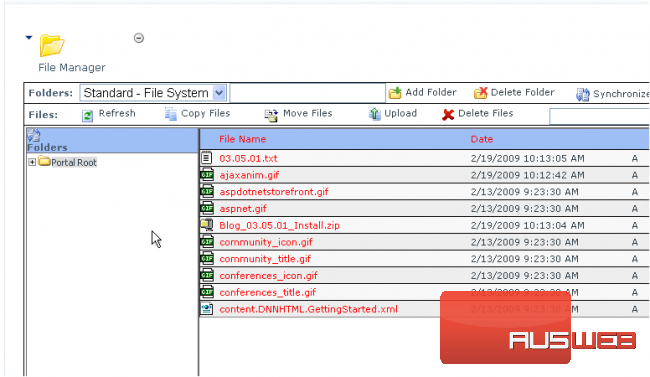
3) Let’s navigate inside Portal Root folder here
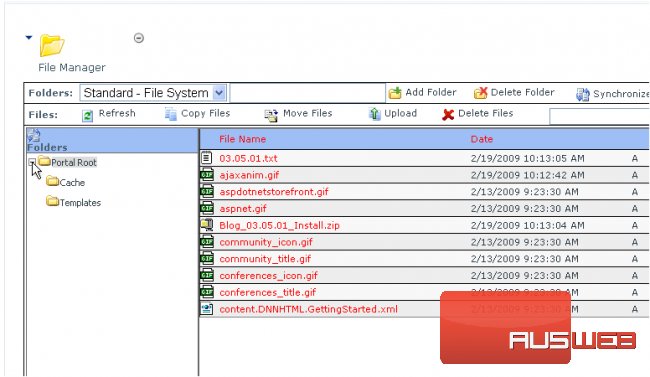
Let’s see what main operations with files can be performed through this File Manager
4) To create a new folder let’s type its name here
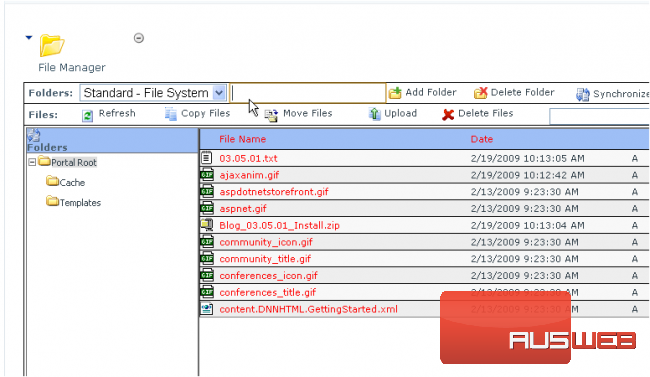
5) Then click Add Folder
Success! The new folder has just been created
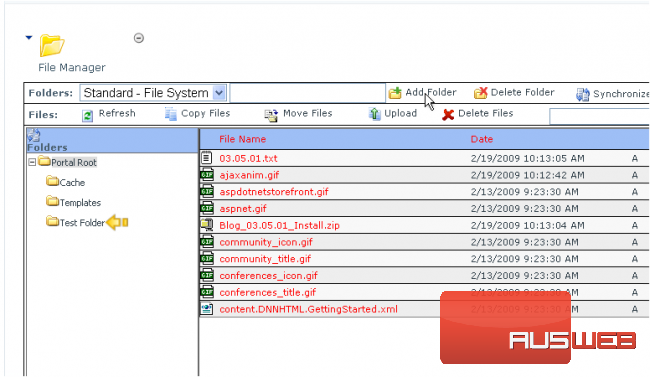
Now let’s see how to copy files to the chosen location… scroll right
6) Select the file by checking this box
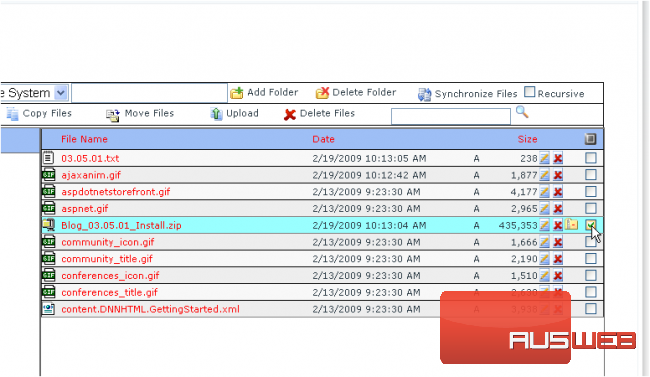
7) Then click Copy Files option
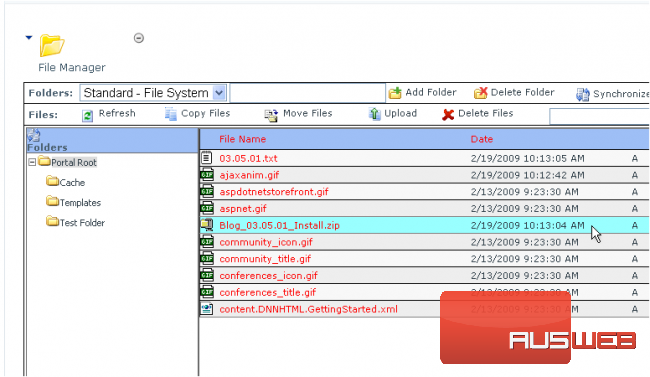
8) Select the destination folder
9) Click OK to confirm the files copying
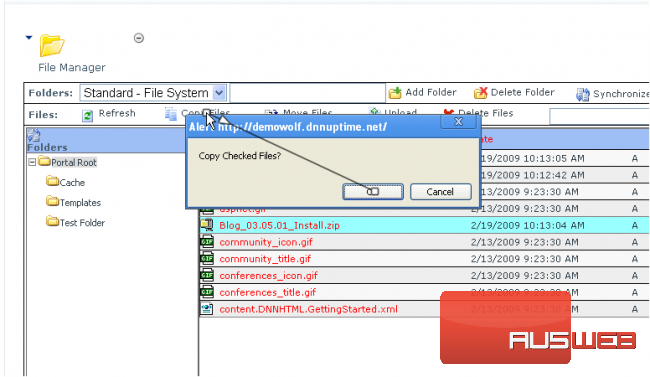
That’s it! The selected file has been successfully copied to the destination folder

10) Now let’s see how to upload a file to our website…click Upload option
Scroll down
11) Click Choose File to locate the file we’re going to upload
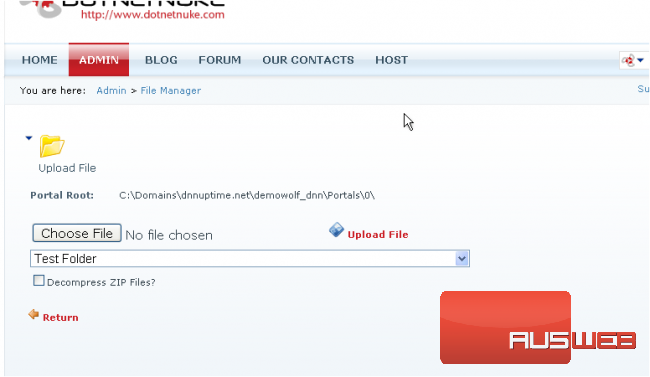
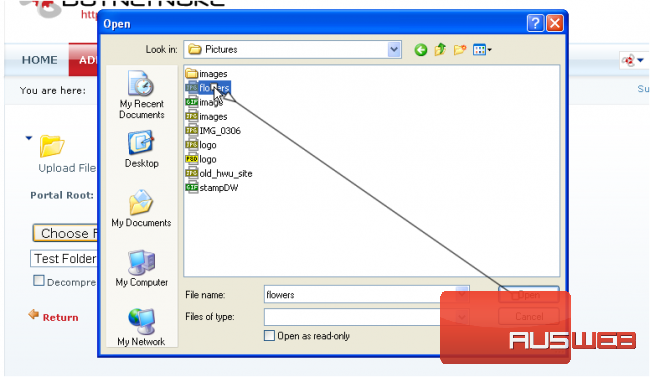
12) Select the necessary file and click Open
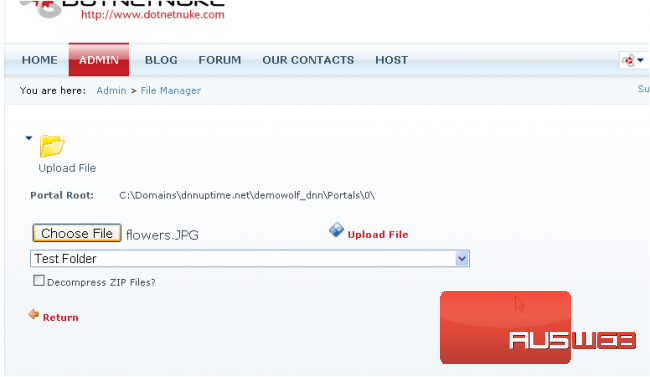
13) Then click Upload File
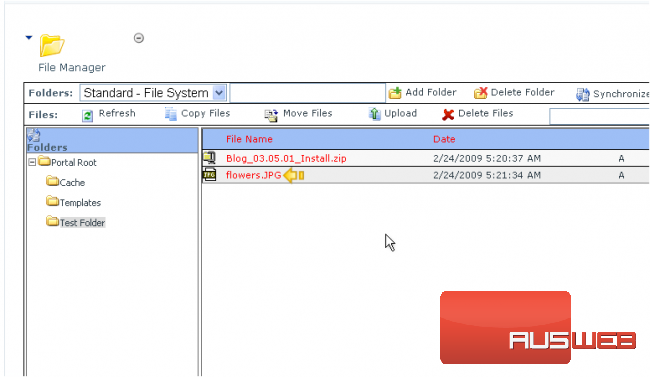
Here is the file that we’ve just uploaded…now let’s see how to delete the file from our website
14) Select the file by checking this box
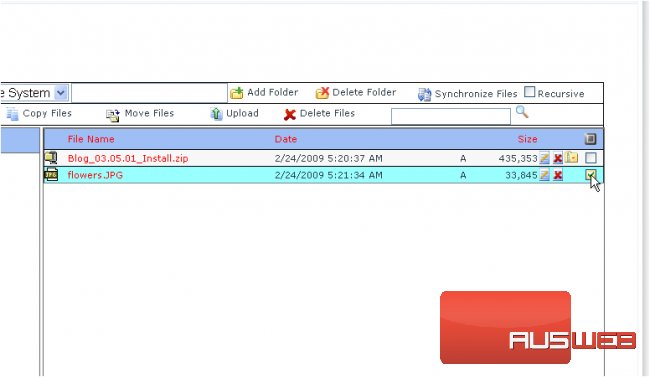
15) Then click Delete Files
16) Click OK to confirm the removal
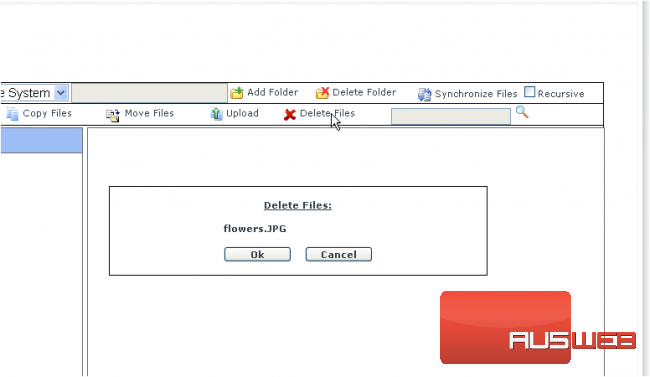
The selected file has been successfully removed
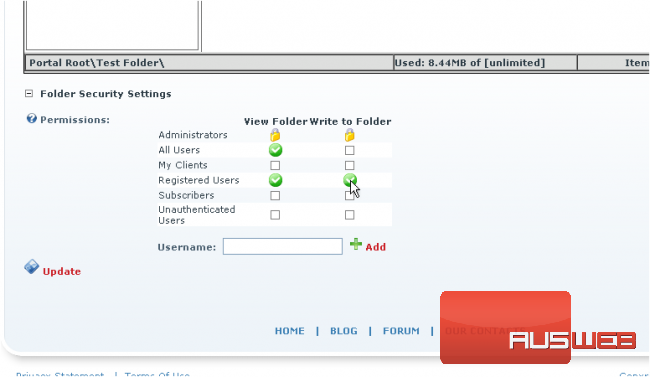
Now let’s try to set permissions for the selected Test Folder…scroll down
Here you can assign View and Write permissions for different user roles
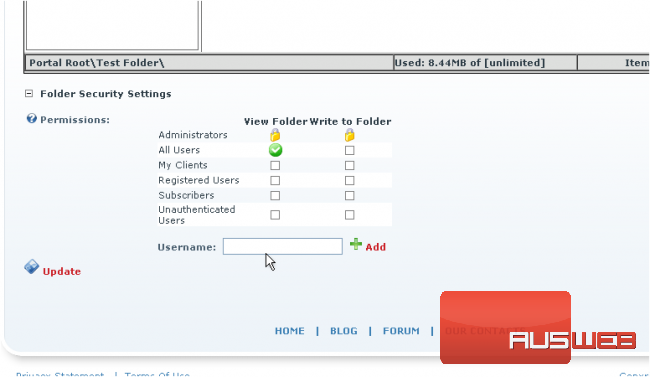
17) Let’s allow full access for Registered Users
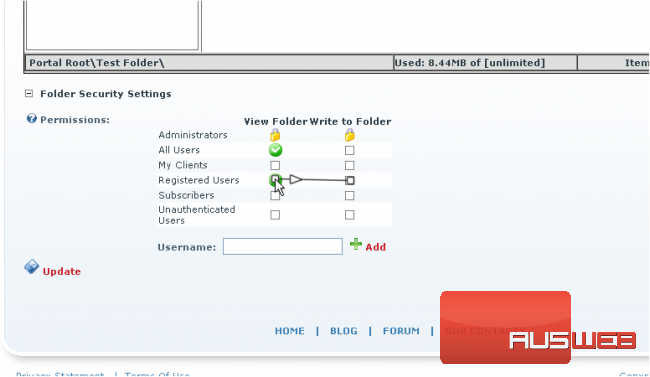
18) Click Update when done
This is the end of the tutorial. You should now be more familiar with using DNN File Manager to upload/copy files, create new folders, and set their permissions


